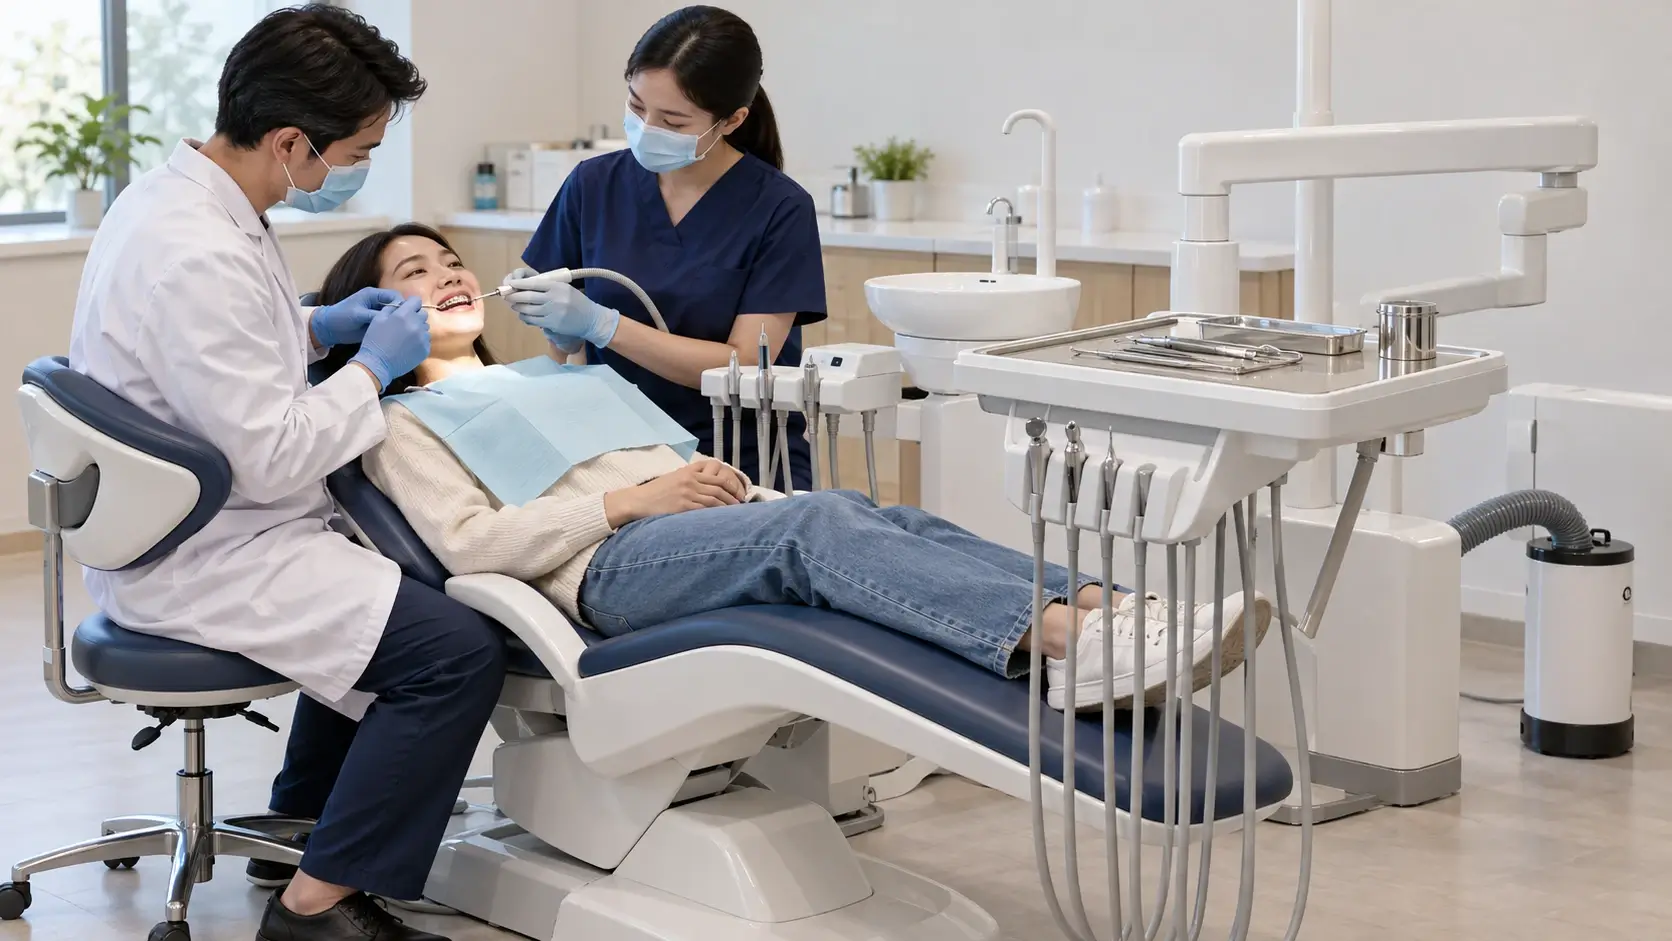
Choose an orthodontic dental unit by testing the complete adjustment visit, not by comparing the chair and tray as separate components. The unit should let the team seat the patient, establish a repeatable working position, reach the routine instruments, share the field with an assistant, return the patient upright, and reset the station without unnecessary travel or repeated repositioning.
This workflow-specific review complements Gladent’s broader orthodontic dental unit buying guide. It focuses on the short, recurring adjustment appointments that can reveal small reach and coordination problems many times each day.
Write the normal appointment as a sequence. A practical simulation may include patient entry, an upright review, chair and headrest adjustment, instrument setup, active chairside work, assistant support, patient instructions, exit, cleaning, and reset. Record who performs each movement and which items must change position. This creates a test script that different suppliers and models can be asked to complete under the same conditions.
Use the clinic’s real staffing pattern. A unit that feels efficient in a dentist-only demonstration may create crossing when an assistant manages suction, passes items, or operates chairside controls. Include the scanner cart, curing light, camera, brackets, wires, hand instruments, and consumables that are actually present during the target appointment. Occasional procedures can be evaluated separately so they do not distort the core setup.
The useful question is how many deliberate movements are needed to reach a stable working position. Test patient entry and exit with the chair upright, then move through the positions the clinic commonly uses for upper-arch and lower-arch access. Watch whether the clinician can approach the headrest and backrest without leaning around a thick chair shell or colliding with a stool, tray, or assistant.
Use several staff volunteers with different heights rather than one showroom subject. The headrest should support the positions the team needs without repeated trial and error. Confirm how it moves, how the selected position is held, and whether the mechanism remains reachable when the chair is reclined. If younger patients or a wide adult height range are common, include those conditions in the acceptance test instead of assuming that an adjustable label proves fit.
Memory positions are valuable only when they correspond to the clinic’s routine. Program candidate positions for entry, active work, and exit, then run consecutive mock appointments. Check whether staff can recall them from the normal operating position and whether the chair moves without forcing the tray, light, hoses, or stools to be cleared each time. Record the chosen settings for training and reference-unit approval.
Lay out the smallest complete adjustment set and observe every reach. The clinician should be able to retrieve and return instruments without twisting away from the patient or reaching across the assistant. The tray must have enough usable area for the planned setup, yet remain compact enough to move into position without blocking patient entry or neighboring equipment.
Separate the tray, holders, connectors, tubing, and controls in the specification. Gladent’s doctor tray and handpiece connector guide explains why similar-looking delivery systems may still have different included scope and compatibility questions. For the orthodontic mock visit, note holder orientation, hose drag, control visibility, and where loose items are parked between uses.
Assistant access should be reviewed from the seated or standing position the clinic will actually use. Confirm that suction, controls, and passed items can be reached without crossing the clinician’s dominant hand or moving around the chair base. The assistant should also be able to help reposition the light or patient when that is part of the clinic’s protocol.
Run the visit with both team members present and mark every collision, blocked sightline, and unnecessary handoff. Reverse the delivery side only if the proposed configuration permits it, and repeat the trial in the exact room layout. Door swings, cabinetry, wall-mounted equipment, and an adjacent bay can change a workable showroom arrangement into a poor installation.
A high-volume orthodontic operatory must return to a known starting state. Test access to the tray, holders, suction filter, chair controls, light handles, upholstery seams, and other contacted surfaces under the clinic’s approved cleaning process and the manufacturer’s instructions. Confirm which parts detach, how they are removed, and whether staff can replace them consistently without tools or ambiguous alignment.
Do not treat easy to clean as a sufficient specification. Request the current care instructions, compatible products, filter service method, replacement identifiers, and any restrictions on upholstery or plastics. Time the complete reset during the mock clinic, but do not reduce the required infection-prevention steps to meet a target cycle time.
The Gladent GD-300 provides a useful example of the fields an orthodontic clinic can evaluate. Its official product page lists nine memory positions, a multi-joint headrest, a butterfly-shaped metal backrest, a square injection-molded instrument tray, a down-hanging working panel, a nine-function assistant panel, a multifunction foot pedal, and an external suction filter. It also describes chair interlock protection while the tool tray is working.
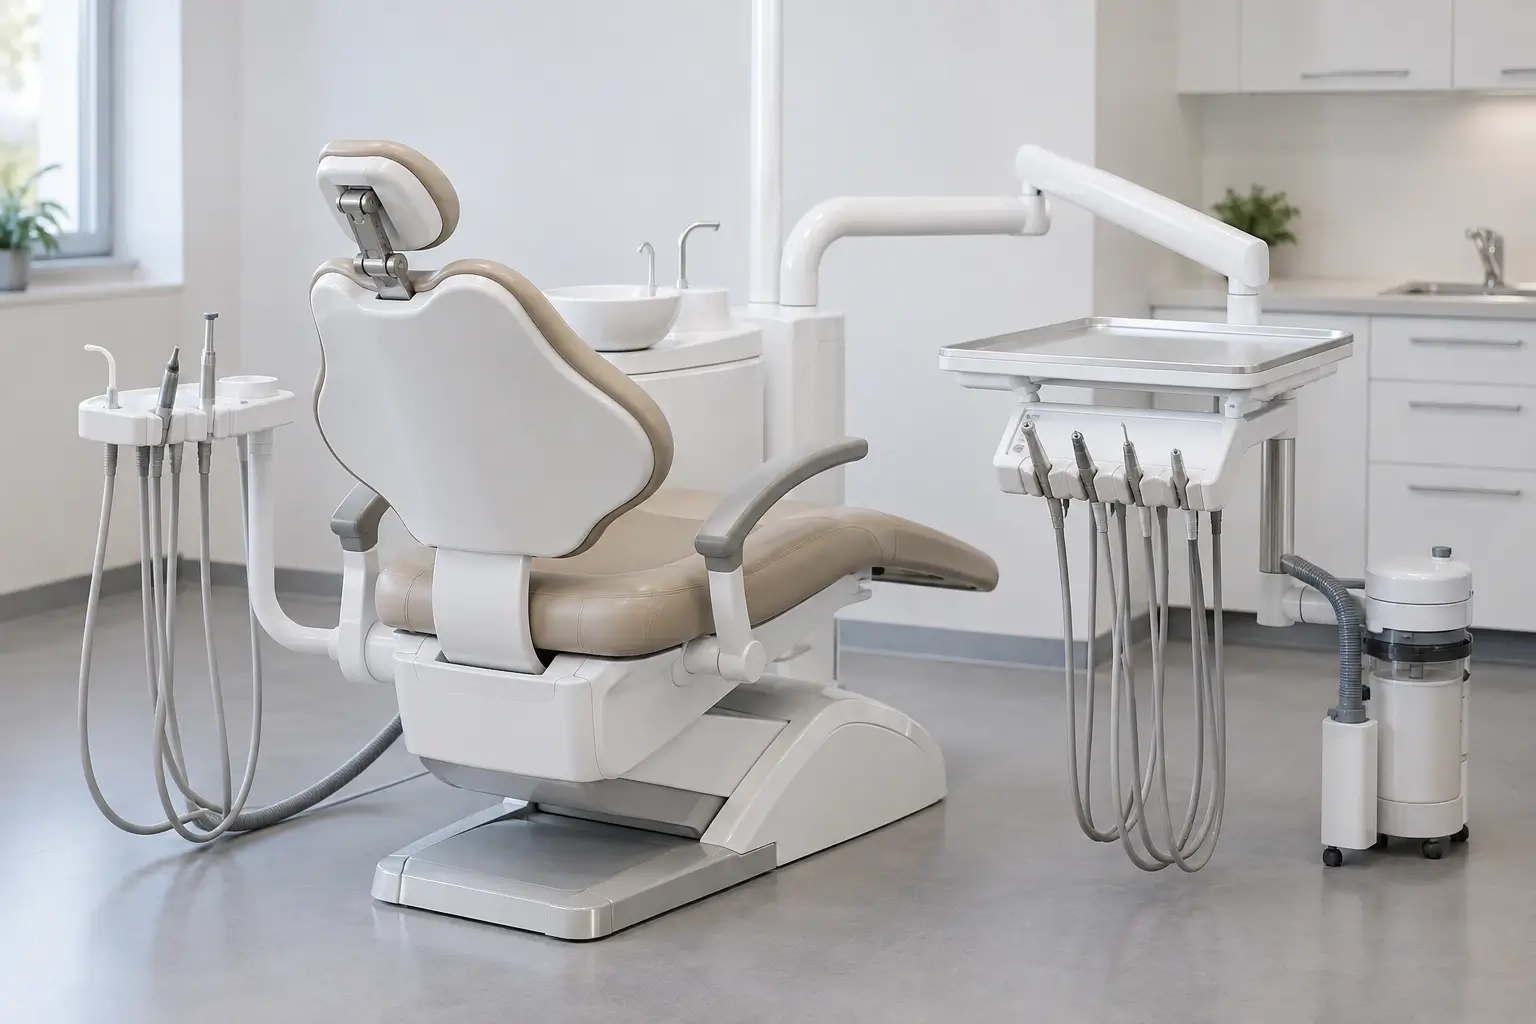
Review the current GD-300 Integral Dental Unit as a test configuration rather than proof of orthodontic suitability. Ask Gladent to demonstrate the memory controls, headrest movement, approach around the backrest, tray reach, assistant-side access, interlock behavior, and filter service on the exact quoted unit. Confirm every included function and option in writing.
If the clinic needs a different delivery layout or chair geometry, compare the same workflow across the Integral Dental Unit range. The winning model is the one that completes the agreed simulation with the fewest avoidable movements while meeting room, utility, maintenance, and destination-market requirements.
Attach the room drawing and adjustment-visit script to the request for quotation. Ask each supplier to return the same model-level evidence so the team can compare configurations rather than feature names.
Use the separate headrest and backrest specification guide when the project needs more detail on adjustment mechanisms, position retention, backrest form, and batch acceptance.
For orthodontic adjustment visits, efficiency comes from the relationship between patient position, instrument reach, assistant access, and reset. Test that relationship in the proposed room with the intended team. Use one repeatable script, document every assumption, and approve the final model and configuration only after it performs the real workflow.
For a configuration review, send Gladent the room plan, procedure mix, staff positions, required instruments, destination market, quantity, and mock-visit checklist, then contact the Gladent team for model-level confirmation.
No. A dedicated chair may suit a standardized high-volume bay, while a configurable integral unit may suit a private operatory or mixed procedure room. The workflow test should decide whether the final arrangement supports the clinic’s recurring appointments.
The useful number depends on the positions the team repeats. Test entry, active treatment, alternate arch access, and exit settings, then confirm that staff can recall them naturally from the working position.
Use the complete routine adjustment setup, including loose instruments, consumables, curing equipment, and any items that normally sit beside the unit. The test should expose crowding and reach problems before purchase.
The assistant’s position affects suction reach, instrument transfer, light adjustment, patient movement, and turnover. A dentist-only demonstration cannot reveal whether the two working zones interfere with each other.
 No. 1, No. 2, Fenggang Industrial Zone, Lianhe, Luocun, Shishan Town, Nanhai District, Foshan City, China
 Call us now:+86-757-81267151