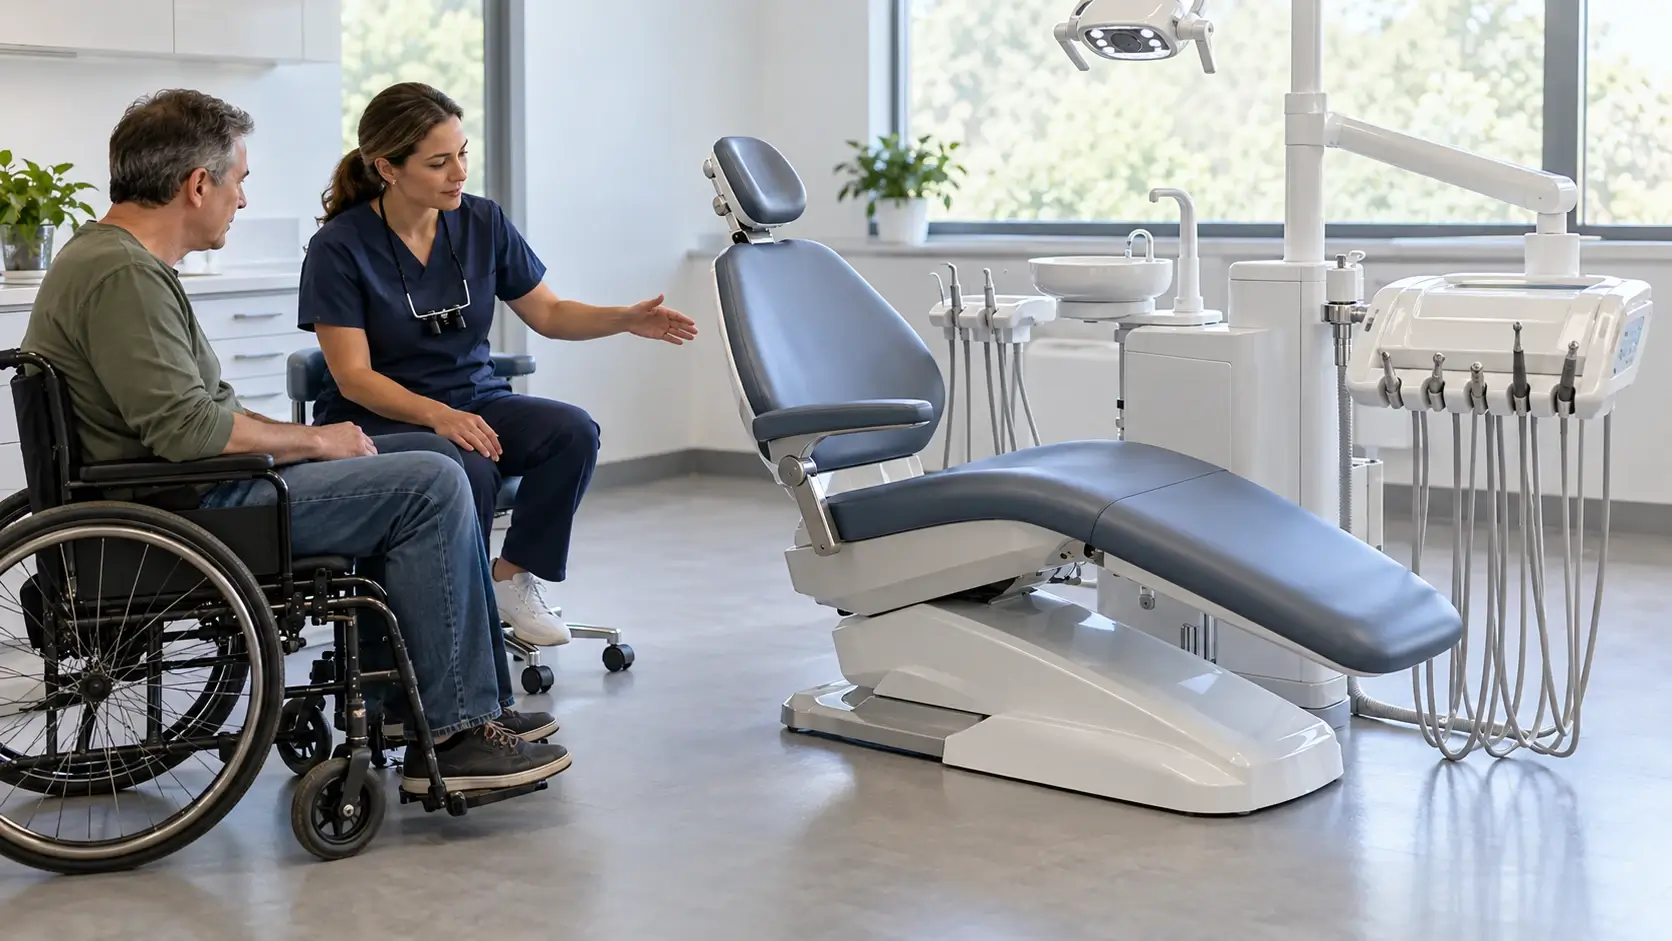
Specify a fixed dental unit for patients with limited mobility by starting with the access and transfer plan. The buyer must know how the patient reaches the operatory, whether the patient transfers independently or with assistance, which side is used, whether transfer equipment is required, and which treatment positions can be tolerated. A single armrest or adjustable headrest may help, but neither feature alone makes a standard unit wheelchair accessible.
Some patients can transfer safely to a conventional chair; others need a board, lift, or trained assistance; and some should remain in their own wheelchair on a purpose-built platform. The clinic should define which scenarios it will support before treating a fixed integral unit as the answer.
Trace the route from the operatory entrance to the treatment position. Include door clearance, turning space, the parking position of the mobility device, the chair base, utilities, stools, cabinetry, foot controls, delivery arms, and the assistant’s approach. Evaluate the room with the chair upright and reclined because a clear entry route can disappear when the tray, light, or unit box moves into use.
Before an appointment, the clinic should ask what assistance the patient uses and how staff can help. Do not assume that every wheelchair user transfers in the same direction or that manual lifting is acceptable. The equipment specification must support the clinic’s trained transfer policy, not create an improvised technique after installation.
A useful procurement brief distinguishes three operating cases. In the first, the patient walks with or without a mobility aid and needs stable support while sitting or standing. In the second, the patient transfers from a wheelchair to the dental chair independently or with assistance and possibly a transfer aid. In the third, the patient remains in the wheelchair for treatment.
The third case may require a specialized wheelchair recliner, tilting platform, mobile system, or a different room design. A standard fixed dental unit should not be represented as suitable for in-wheelchair treatment unless the manufacturer supplies applicable documentation and the complete setup has been professionally reviewed.
Request a current dimensional drawing for the exact chair and options. Record the lowest seat surface in the entry position, the open approach side, the relationship between the wheelchair seat and dental chair, the position of the armrest, and the space needed by staff or transfer equipment. Check the geometry on both sides when the clinic must support different transfer preferences.
The US Department of Justice guide on access to medical care for people with mobility disabilities provides a useful planning principle: clear floor space, approach direction, transfer method, equipment, and staff assistance must be considered together. Its examination-room examples are not a model-specific dental-chair approval, so the project team must still verify dental requirements, local codes, and the selected configuration.
An armrest can provide support, but it can also obstruct a lateral transfer. Ask whether it is fixed, removable, swing-away, or present on only one side, and obtain the relevant dimensions and operating instructions. A single-armrest layout creates an open side; it does not confirm that the open side, seat height, chair base, or room clearance matches a particular patient or transfer method.
The headrest and backrest must support the positions the clinic expects to use after transfer. Test upright entry, gradual recline, intermediate positions, and return to exit. Confirm how the headrest moves and holds position, whether the patient needs additional approved supports, and whether staff can operate the controls while assisting. Movement speed, range, load limits, and emergency procedures should come from current manufacturer documentation rather than visual assumptions.
The patient approach is affected by more than the seat. Move the doctor tray, assistant panel, light, cuspidor, unit box, hoses, and foot control through their full operating envelope. Verify a parking position that preserves the transfer route and does not force a staff member to stand between the wheelchair and chair.
Gladent’s comparison of mobile and fixed dental units can help define the installation category, but access still has to be checked on the selected model and room drawing. A fixed unit brings integrated services and predictable placement; that same fixed geometry makes early clearance planning essential.
Assign roles before equipment approval. The team should know who communicates with the patient, who stabilizes equipment, who controls the chair, and how the mobility device is positioned. If a board or lift may be used, verify the required approach space, compatibility with the chair base, storage location, inspection process, and staff training. Procurement staff should not invent a transfer protocol from a product photograph.
Include a patient-led trial in the clinic’s acceptance process only under the clinic’s safety, consent, and professional procedures. Before that stage, use dimensional reviews, room mock-ups, and trained staff simulations to identify obvious obstructions. The clinic’s clinical and accessibility advisers should decide whether the proposed arrangement supports the intended population.
The Gladent GD-S200 Plus product page identifies a single armrest, a multi-joint movable headrest, a detachable metal backrest, a rotatable unit box, a 90-degree rotating ceramic spittoon, and an assistant control panel. These are relevant physical features to inspect when planning entry, positioning, staff access, cleaning, and service.
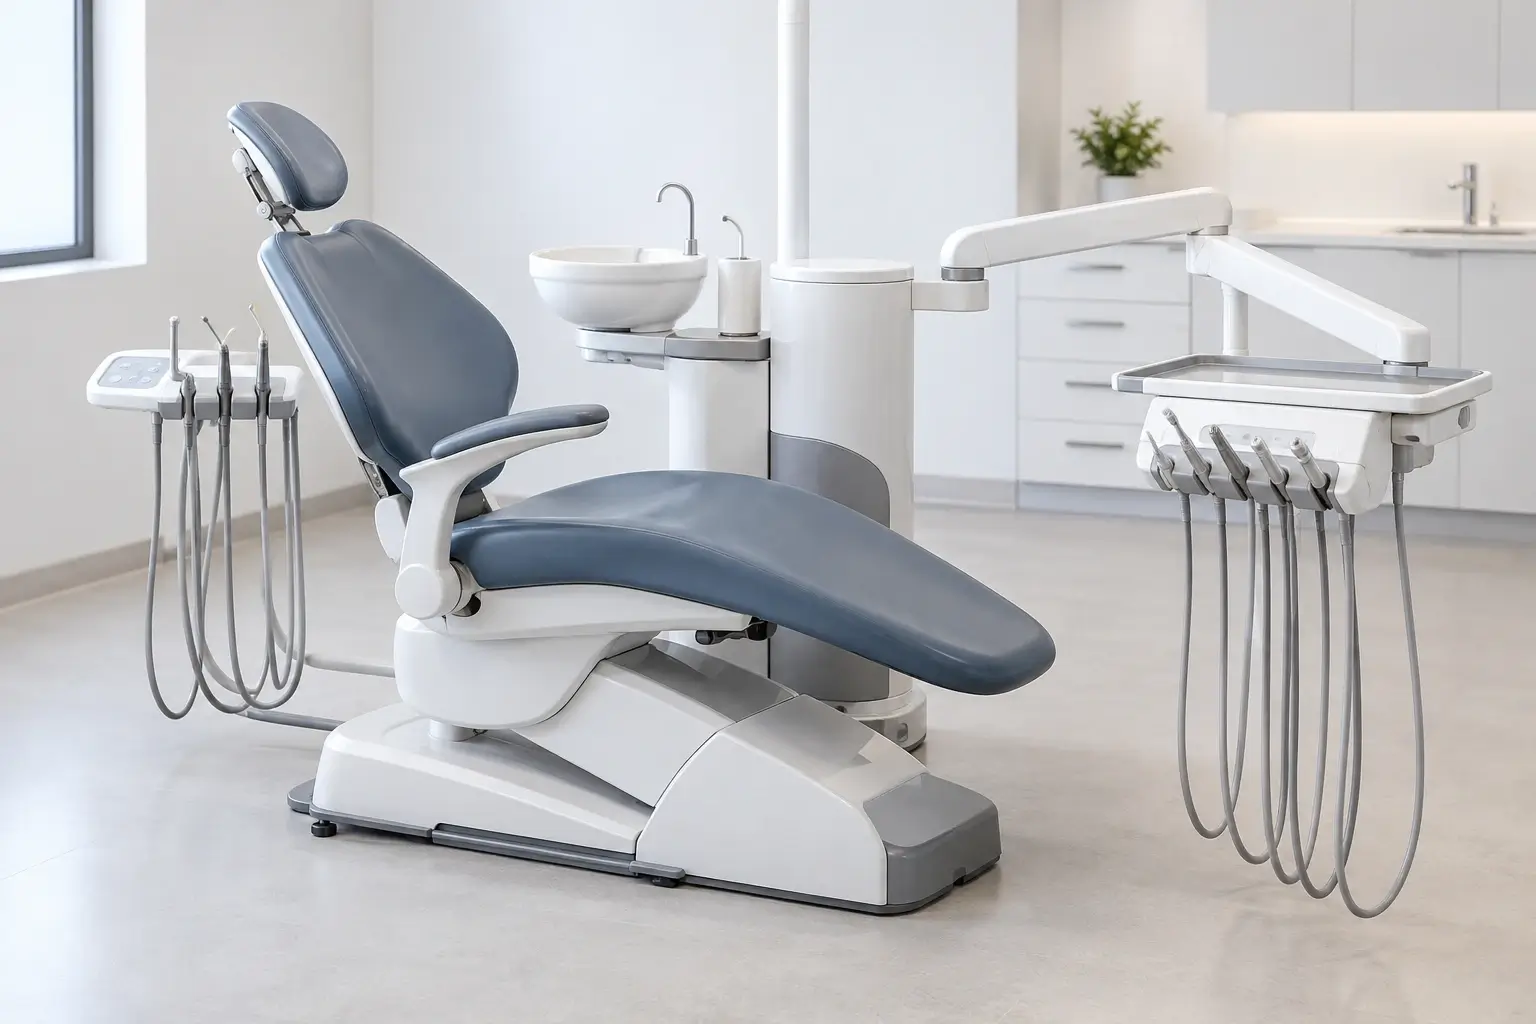
Use the GD-S200 Plus Integral Dental Unit as a model-level verification example, not as a confirmed accessibility solution. Ask Gladent for current dimensions, movement limits, armrest geometry, rated load, control behavior, installation drawing, and available options. Then test the exact quoted configuration against the clinic’s transfer scenarios.
Compare other models in the Integral Dental Unit range only after the access requirements are written. A different chair or delivery architecture may be necessary if the reference model cannot provide the required approach, support, or clearance.
The RFQ should describe intended access scenarios without claiming that one design serves every patient. Require model-specific evidence and a reference-unit review.
For deeper model comparisons, use Gladent’s headrest and backrest specification guide to document movement, position retention, backrest form, detachability, and batch checks.
A fixed dental unit can support some patients with limited mobility when its geometry, room clearance, positioning functions, staff workflow, and transfer plan agree. It is not enough to specify a low seat, one open side, or an adjustable headrest in isolation. Define the access scenarios first, verify dimensions and movements, and use a reference unit before approving the installation.
Send the room plan, transfer scenarios, required approach side, patient mix, destination market, quantity, and requested dimensional evidence, then contact Gladent for a fit check. Final suitability should be confirmed by the manufacturer and the clinic’s responsible accessibility, installation, and clinical professionals.
No. It may leave one side more open, but accessibility also depends on seat height, transfer direction, base geometry, floor space, support, controls, and the patient’s method of transfer.
No. Transfer ability and preferred assistance vary. Some patients need a board, lift, or trained help, while others should remain in their wheelchair using a purpose-built arrangement.
Request the entry position and seat height, seat and backrest dimensions, armrest geometry, headrest movement, complete movement envelope, base and utility locations, rated load, and clearance required by every chairside component.
Only if the complete treatment arrangement is documented and professionally approved for that use. Many in-wheelchair cases require a specialized platform, recliner, mobile system, or different room configuration.
 No. 1, No. 2, Fenggang Industrial Zone, Lianhe, Luocun, Shishan Town, Nanhai District, Foshan City, China
 Call us now:+86-757-81267151