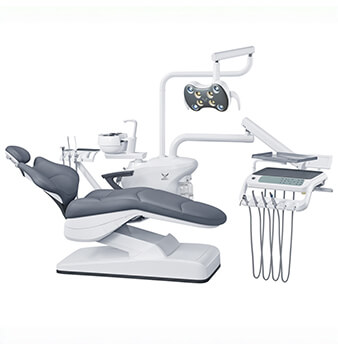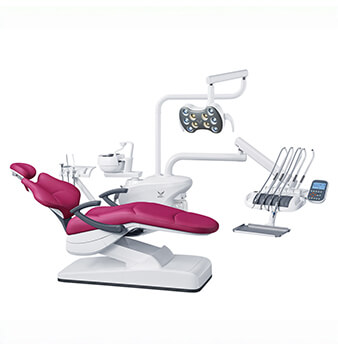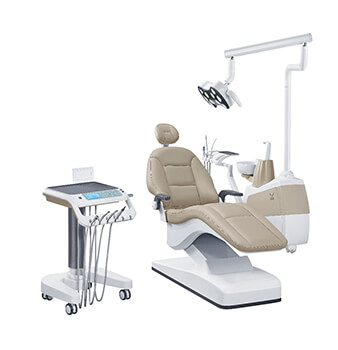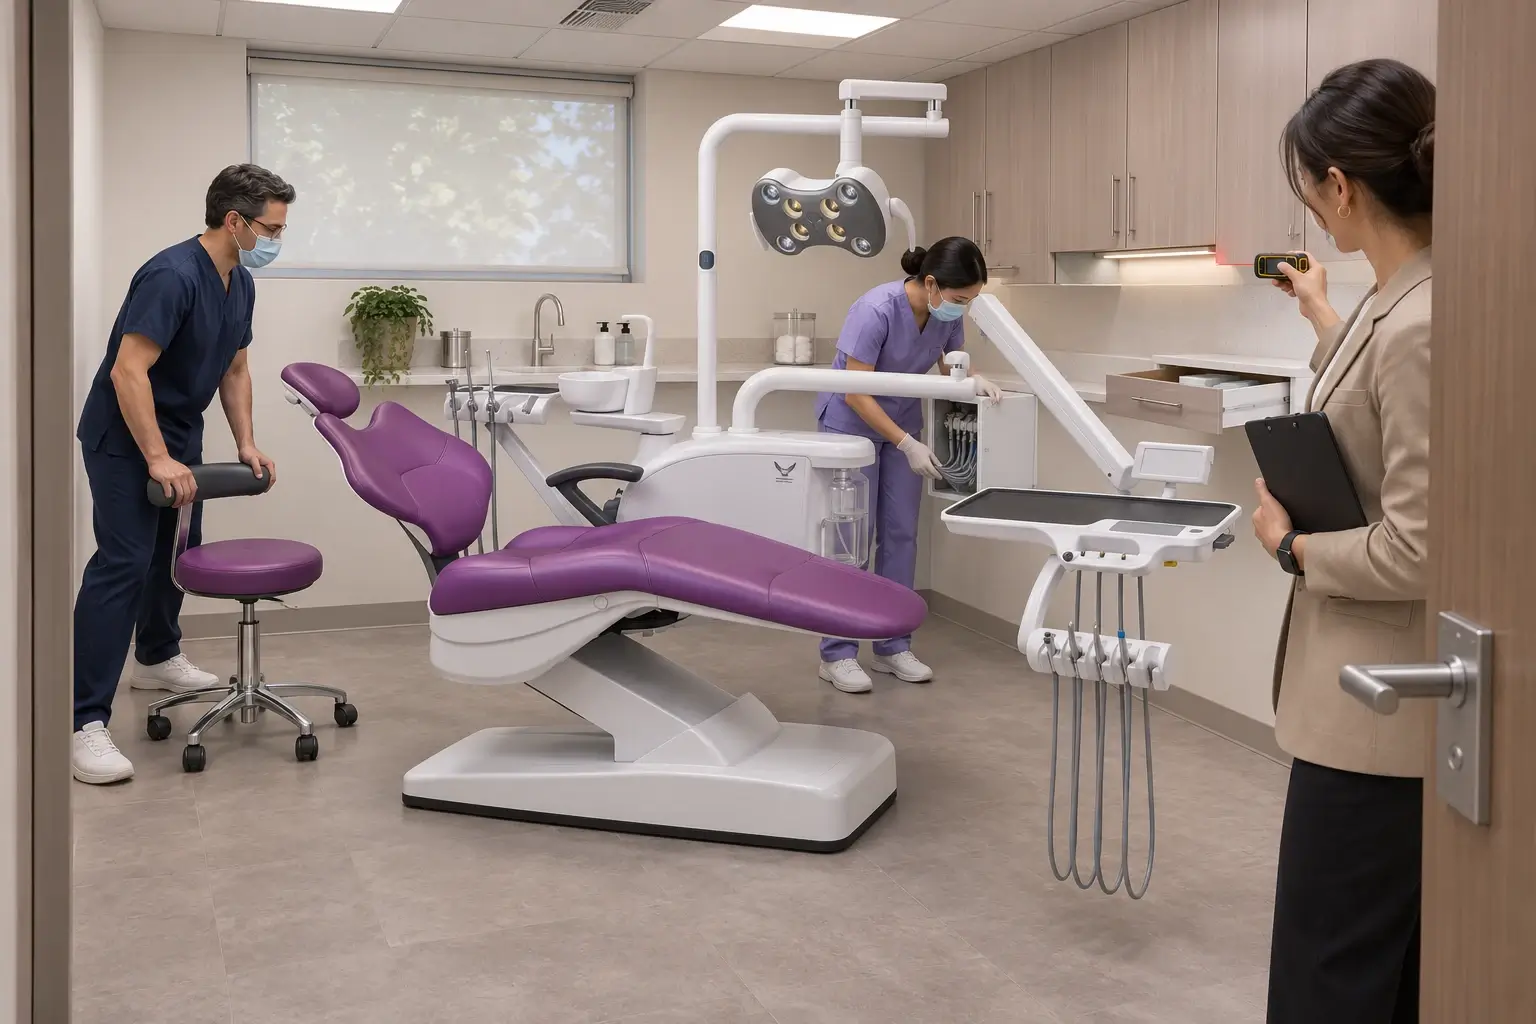
A useful dental operatory layout starts with the treatment workflow and the exact dental unit, not a generic room dimension. The plan should protect patient access, give the operator and assistant clear working zones, show all chair and delivery-system movement, preserve service access, and place utilities for the selected model. Open and closed operatories may use the same equipment, but circulation, privacy, cabinetry, and physical boundaries change its placement. Verify a scaled layout before construction, anchoring, or utility rough-in.
Floor area alone does not show whether a team can work efficiently. Begin with the procedures, number of clinicians, patient entry method, and equipment that must remain chairside. Hygiene, general treatment, and procedure rooms may need different storage, assistant support, and movement clearances even at similar sizes.
Place the chair centerline after mapping patient arrival, seating, treatment, dismissal, turnover, and service. Include both stools, instrument tray, light, suction, foot control, monitor, cabinetry, mobile equipment, and waste route. The layout must work with the chair upright and fully positioned for treatment.
| Room type | Planning priority | Dental unit implication |
| Open operatory | Shared circulation and clear boundaries between treatment spaces | Keep trays, hoses, stools, lights, and service access within the working footprint |
| Closed operatory | Door, wall, cabinet, privacy, and movement constraints | Check every component against doors, walls, cabinets, and imaging equipment |
An open layout can share circulation and support functions, but chairside equipment still needs a clear boundary. The tray, assistant arm, light, stools, and mobile devices should not project into the common route. Visual separation does not establish acoustic or infection-control separation, so review local requirements and clinic procedures. Plan staff entry and instrument removal without crossing the patient path.
A closed room provides physical separation, but walls and doors restrict chair movement. Test the full door swing and patient entry with the chair in its loading position. Check operator access around the headrest, assistant access, cabinet openings, and fixed services. A room can meet a size target and still fail because moving components conflict.
A scaled dental operatory design should show five practical zones. Dimensions depend on the unit, working method, patient needs, cabinetry, and local requirements. No single clearance applies to every clinic.
A dental unit is a moving system, so its footprint is only the beginning. Request a model-specific plan showing the base, centerline, anchor points, utilities, service panels, and every component’s movement envelope. Compare it with doors, cabinets, stools, and mobile equipment on the room drawing.
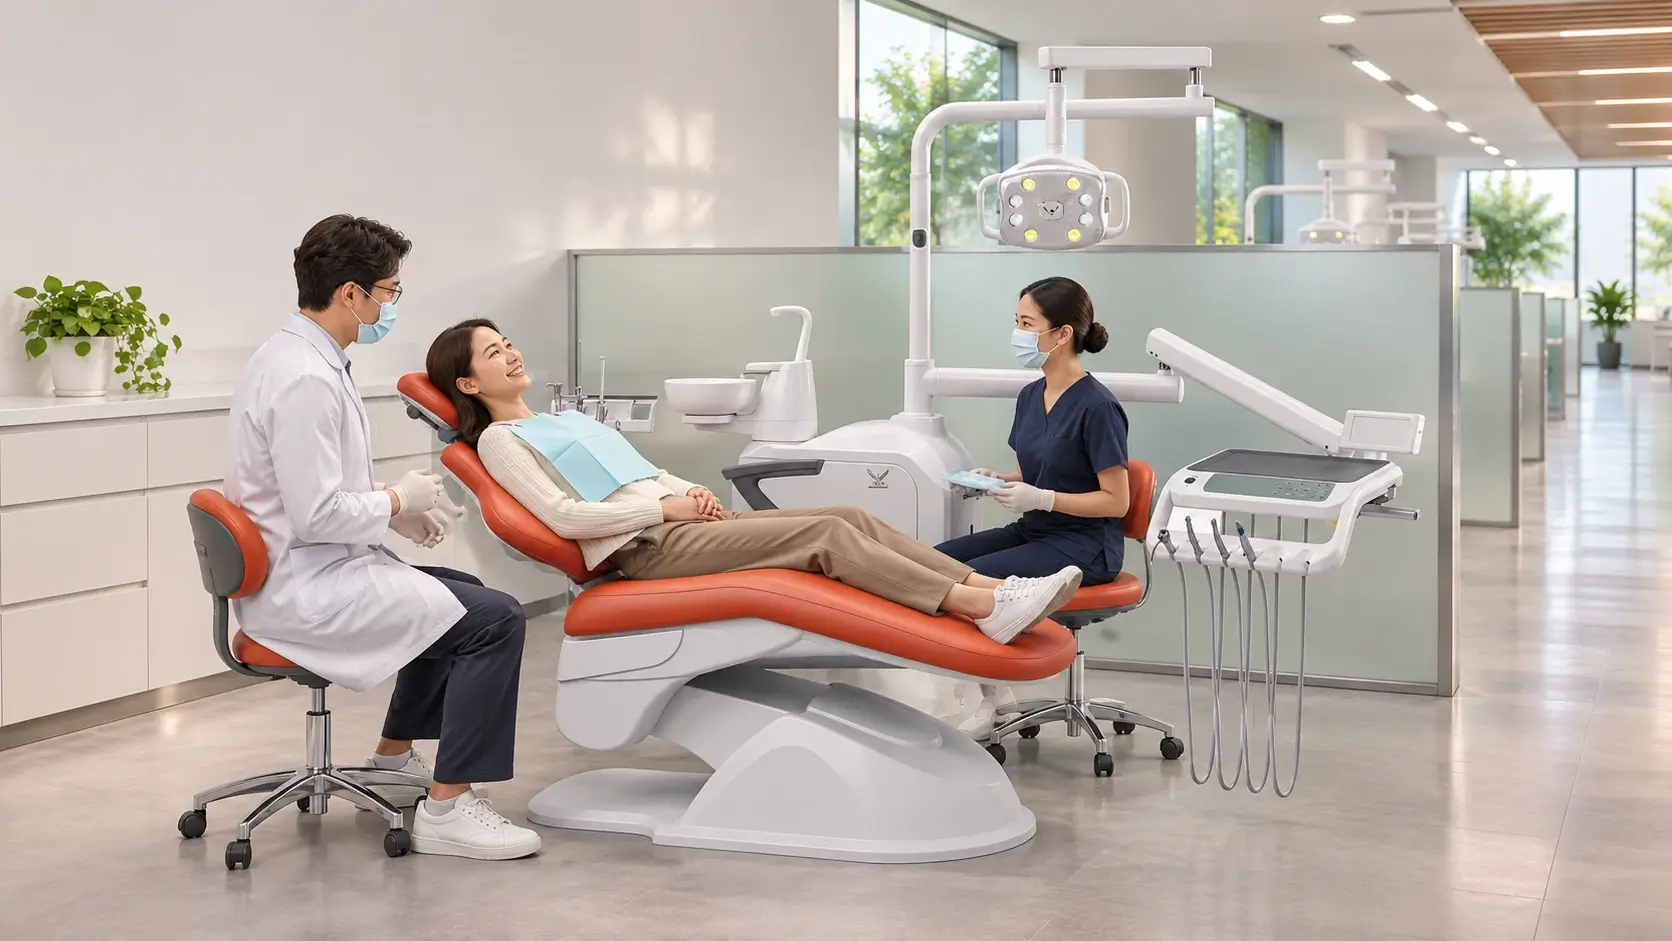
The GD-S200 Plus integral dental unit is a useful verification example. Its product information describes a single armrest, multi-joint headrest, multifunction doctor tray, assistant control panel, rotatable unit box, and rotating ceramic spittoon. Draw each feature in its working and service positions.
A buyer comparing the integral dental unit range should ask for the exact configuration rather than assume that every model has the same swing radius or utility location. Gladent should confirm the selected tray, assistant module, spittoon, light, armrest, and side-box arrangement before the final dental unit placement is approved.
Compact rooms need an additional review. The guide to dental chairs for small spaces covers footprint, delivery systems, backrest profile, cable routing, and confined-room ergonomics. Use it when room size is the main constraint; use this layout process for open-versus-closed workflow.
Utility points should follow the approved equipment drawing. Water, air, suction, drainage, electricity, data, and isolation devices can become inaccessible when placed from a generic plan. Their position also affects cleaning and service. Review the model-specific drawing before cutting the floor or closing walls.
The Gladent pre-installation utility checklist explains how to review the footprint, centerline, anchoring, water, air, suction, drainage, electrical supply, and service zone. If the project is considering floor-fixed dental units, confirm the anchoring and utility strategy for the exact model; the category name alone does not define the site work.
Test a four-handed dentistry operatory layout on a scaled drawing and, when possible, a simple mock-up. Use actual component dimensions and move each item through its full range.
Record conflicts on the drawing and resolve them before utilities or cabinets are fixed. Moving a centerline on paper is inexpensive. Moving floor services or replacing incompatible cabinetry after installation is not.
The equipment RFQ should request enough information for the design team to place the dental unit accurately. Ask the supplier for the following items in one package:
The clinic should issue the approved room drawing with the purchase order and ask the supplier to confirm that the quoted configuration matches it. Keep the final drawing for installation, commissioning, maintenance, and future room changes.
A reliable dental operatory layout connects the clinical workflow to the exact equipment configuration. Open operatories need strong boundaries around shared circulation, while closed rooms need careful checks against doors, walls, and cabinetry. In both cases, map patient, operator, assistant, equipment, and service zones; draw every moving component; coordinate utilities; and test the arrangement before construction. The result should be a model-specific plan that the clinic, supplier, and contractor can all verify.
There is no universal size for every clinic. Required area depends on the dental unit, procedures, team, patient access, cabinetry, imaging, doors, utilities, and applicable local requirements.
Neither layout is automatically better. Open rooms emphasize shared circulation and equipment boundaries. Closed rooms emphasize door, wall, cabinet, privacy, and confined-movement checks.
Approve them after the exact model and configuration are selected and before floor cutting, wall closure, cabinetry fabrication, or final electrical and plumbing work.
A generic plan can support early discussion, but final construction should use the manufacturer drawing for the ordered model and options, coordinated with the project professionals.
For a layout review, send Gladent the room drawing, door and cabinet positions, intended procedures, patient-access requirements, preferred delivery arrangement, utilities, model quantity, and destination market. Buyers can contact the Gladent technical team to request the applicable product drawings and configuration details.
 No. 1, No. 2, Fenggang Industrial Zone, Lianhe, Luocun, Shishan Town, Nanhai District, Foshan City, China
 Call us now:+86-757-81267151