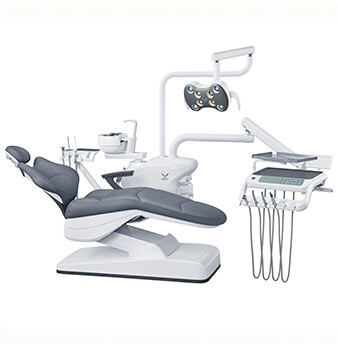
An ambidextrous dental unit is a treatment system whose working components can be configured for right-handed or left-handed clinical use without replacing the complete chair. The practical question is whether the dentist element, assistant element, cuspidor, lamp, foot control, stools, and cabinetry support the intended team positions. Verify the setup in the actual room before purchase and during commissioning.
For clinics comparing configurations, the Gladent dental unit range provides a category-level reference, but selection should start with the people and room rather than a model list. Record users, changeover frequency, procedures, and fixed constraints. The method below is Gladent’s procurement evaluation framework.
The term does not promise that every component changes sides. Suppliers may use it for different arrangements, and the actual conversion capability depends on the specific model and configuration:
Ask which components move, who may move them, whether tools are required, and whether conversion affects utilities or calibration. Request a continuous changeover demonstration rather than two static photographs.
An ambidextrous dental chair unit creates the most value when clinicians with different dominant hands share one room. It also suits teaching clinics, group practices, temporary staffing, and future recruitment.
A dedicated left-handed unit may be better when one left-handed dentist uses the room almost exclusively, cabinetry is fixed around that workflow, or the team values consistency over conversion. A modular arrangement can help where moving services is difficult. However, hose routing, wheel clearance, and the assistant’s working zone must still be checked.
The decision should therefore be based on change frequency, room geometry, team roles, and procedure mix, not handedness alone.
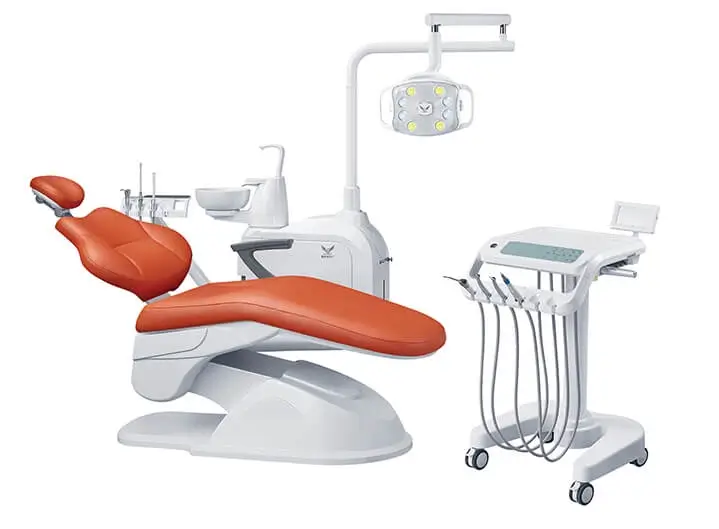
Begin with a scaled plan showing the chair axis, door swing, cabinets, sink, utilities, imaging equipment, monitor, and storage. Draw the swept path of the dentist element, assistant arm, cuspidor, light, monitor, tray, stools, and any cart.
Check patient entry, treatment position, the raised chair, and changeover. A parked component may obstruct a drawer, doorway, stool, or assistant when extended. Conversion should not require moving cabinetry.
Compact rooms need attention to turning radii and parking positions. Gladent’s dental chair guide for small spaces supports this step, but final dimensions must come from the selected model’s installation drawing. Mark maintenance access as well as working clearance.
Create one map for each dentist orientation. Show dentist and assistant seats, instrument transfer, suction position, and exit paths. Include the assistant’s dominant hand and duties. A setup that improves dentist reach but forces the assistant to twist across hoses is not effective.
Use the clinic’s common procedures for the exercise. Different procedure types reveal different conflicts. The goal is not to prescribe a universal clock position; it is to prove that the team can work without repeated reaching, crossing lines, or blocked controls.
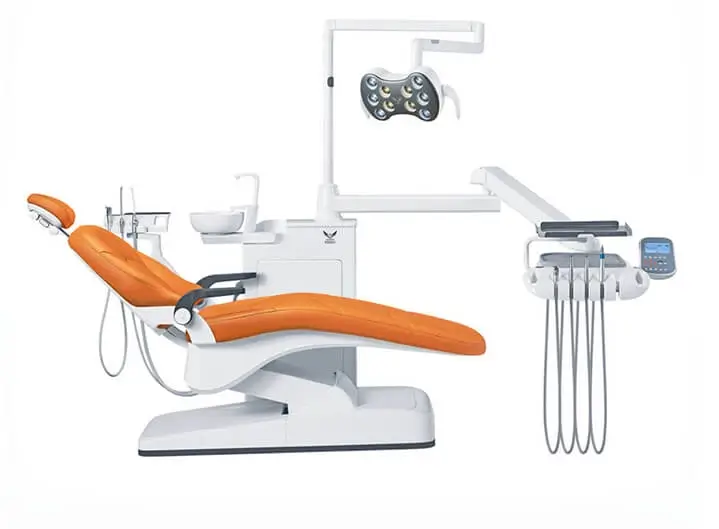
Confirm that the delivery arm reaches either side without tightening hoses or crossing patient access. Instruments must remain visible and secure. Check whether the control panel orientation changes.
For a modular comparison, review a dental unit with a mobile trolley against the same reach, hose-routing, parking, and assistant-clearance criteria, where applicable to the selected configuration. This product reference does not by itself confirm ambidextrous or left-handed conversion capability; those functions must be verified for the quoted configuration.
Test high-volume evacuation and saliva ejector reach from the assistant’s intended seat. The assistant arm should not compete with the dentist element for the same space. If the assistant module is fixed, determine whether its range genuinely supports both team arrangements.
Check the cuspidor’s complete path and patient access. Move the light from parking position to the treatment field on both sides. Verify monitor visibility, cable routing, foot-control position, and floor connections. Wireless control does not solve conflicts created by stools, arms, or cabinetry.
Run the chair through its full programmed range with both layouts assembled. Confirm that the backrest, headrest, armrests, and base do not collide with converted modules. Adjust both stools for real users. Seat height, back support, and unobstructed leg space can change whether the nominal layout is workable.
Have the supplier demonstrate the complete conversion, then let clinic staff repeat it. Record the starting configuration, steps, tools, time, and final checks. Treat a quoted changeover time as unverified until reproduced in the planned room.
Use this acceptance sequence:
Workflow validation matters because equipment specifications describe capability, while a timed room trial reveals interruptions. The same principle applies when assessing how an integrated dental chair can reduce procedure delays: controls and instruments create value only when they support the team’s actual sequence of work.
An RFQ should request configuration evidence, not just price and features:
Attach the room plan and workflow maps to the RFQ, and ask the supplier to mark proposed positions on the drawing. This makes offers comparable when suppliers use “ambidextrous” for different capabilities.
Use the same matrix for every supplier. Score preferences only after all mandatory gates pass.
| Criterion | Gate or Weight | Required Evidence | Supplier Status | Result |
| Room and two team workflows | Mandatory | Annotated installation drawing and room trial | Documented / demonstrated / unavailable | Pass / fail |
| Reversible modules and changeover | Mandatory | Instructions plus complete demonstration | Documented / demonstrated / optional | Pass / fail |
| Utilities and commissioning | Mandatory | Site plan, responsibilities, acceptance record | Documented / unavailable | Pass / fail |
| Destination-market documents | Mandatory | Model-specific documents identified by supplier | Documented / unavailable | Pass / fail |
| Delivery, warranty, service, parts | Assign 1-5 weight | Written lead time, exclusions, response and parts terms | Documented / optional | Score 1-5 |
| Lifecycle cost and accessories | Assign 1-5 weight | Itemized quotation and compatibility list | Documented / optional | Score 1-5 |
Require room fit, team workflow, and repeatable changeover to pass. For close offers, multiply each preference score by its clinic-assigned weight and compare totals. Keep evidence attached to the matrix rather than relying on sales claims.
A: It is a dental unit designed so specified working components can support right-handed and left-handed clinical use. Because the movable components differ by model, the supplier should identify and demonstrate the exact conversion scope.
A: No. A dedicated left-handed setup can be more consistent for a room used almost entirely by one left-handed dentist. Ambidextrous equipment is most valuable when a room is shared or staffing needs may change.
A: Use a scaled room drawing, check component swept paths, and simulate representative procedures with both dentist and assistant positions. Verify clearances, instrument transfer, suction reach, lighting, foot-control access, and patient entry.
A: Check the movement order, any required tools, hose and cable tension, collisions, control orientation, assistant access, and function of the chair, lamp, delivery system, suction, cuspidor, and foot control in both configurations.
A: Send the room plan, utility points, fixed cabinetry, clinician and assistant handedness, procedure mix, accessories, preferred delivery style, and expected changeover frequency. Request installation drawings and a complete changeover demonstration for the offered model.
Select an ambidextrous dental unit by verified workflow fit, room clearance, assistant access, repeatable changeover, and installation support. Gladent supplies dental unit configurations for clinics and distributors. Send the room plan, clinician handedness, procedures, utilities, accessories, and target quantity through the Gladent configuration enquiry to discuss a suitable quotation.
 No. 1, No. 2, Fenggang Industrial Zone, Lianhe, Luocun, Shishan Town, Nanhai District, Foshan City, China
 Call us now:+86-757-81267151